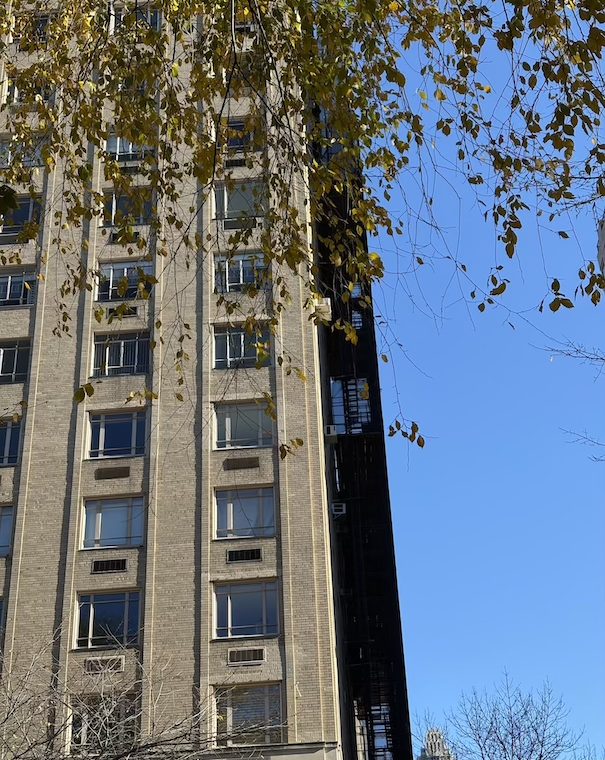
I’m returning to this topic – a tip on how to do field investigation of buildings – for the fourth time in the last two years, mostly because I took a picture that illustrates it perfectly. An apartment house in a landmark district, lit from the south:

And close up:

Obviously the second picture was pushing the limits of the (limited) camera in my phone. But you still see a lot.

The areas marked A – and others like them – show roughness to the brick plane. You see both light and dark edges to the bricks from where projecting edges are catching the light and where they are casting shadow. That is likely nothing more than the original out-of-flatness of the wall: no matter how skilled masons are, bricks are never perfectly aligned. The minor irregularities are one of the things that create the distinctive appearance of brick masonry.
The lighter-colored brick at B shows that the lintel over the window was exposed for observation, repair, flashing, and/or replacement. Since the guidelines for NYC landmarks explicitly state that brick repairs are to match the original appearance of the masonry – i.e., the clean color of the brick rather than how it may look after a century or so of sitting out in the open air, getting dirty – replacement brick is usually easy to find based on its lighter color. In this case, there are new weeps right above the steel lintel that are unfortunately projecting out, and are visible because of their shadows.
Finally, the masonry below the window sills – C – has eroded joints. You see the dark shadows but there are minimal light edges because the bricks are in plane, and the joints have eroded back.


You must be logged in to post a comment.