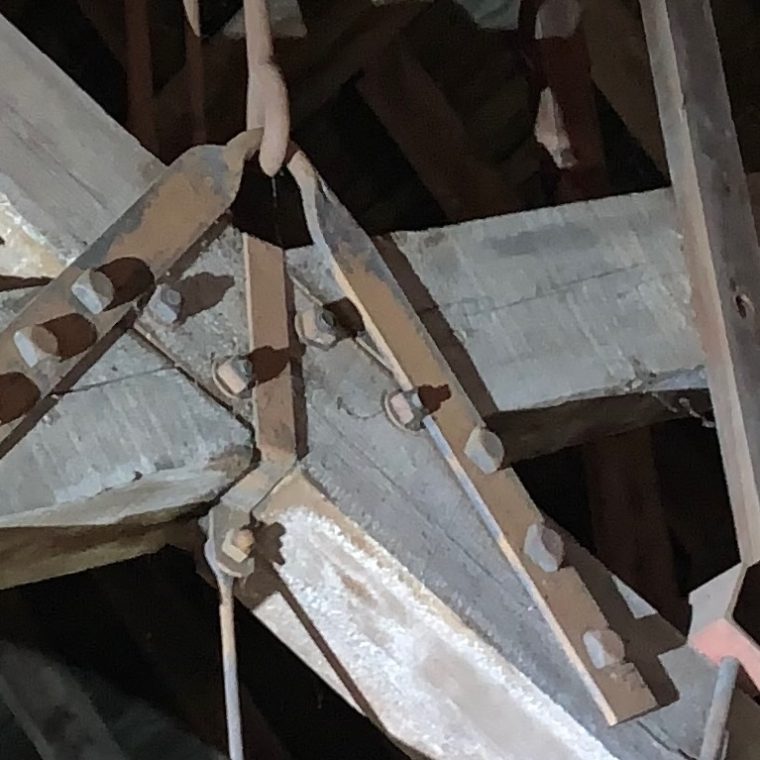
As I mentioned yesterday, the roof of a church we’re working on, like a lot of churches, has scissors trusses supporting the roof. An ordinary truss with a triangular profile (which could be a king-post, queen-post, Warren, or any number of other truss forms) forces the maximum ceiling height to be at or below the eaves. That’s always doable if you don’t mind building the walls and roof higher than they need to be and ending up with a huge unused attic. A scissor truss, by breaking the bottom chord in two, allows the ceiling to project up into the attic space, in effect lowering the roof without shrinking the sanctuary at all. Here’s the center of the truss at the 1890s church, taken by Ellen while standing on a catwalk in the attic:

The curve of the barrel-vault plaster ceiling, partially missing, can be seen at the bottom. The double beam running horizontally left to right, and the beams intersecting it, are part of the ceiling support system, and the intersecting beam can be seen attached to the top of the curved ceiling ribs. The two big timbers crossing diagonally in the center of the photo are the bottom chords of the scissors truss; the big timbers they intersect at the roof are the upper chords. The ridge beam and purlins that run truss to truss, and the common rafters supported by the ridge and purlins, are in the background.
The iron hanger rods connecting the lower-chord crossing to the upper-chord ridge are part of the system, allowing for more efficient load transfer between upper and lower chords. But that slightly-weird connection is what catches the eye and deserves an explanation. Even though this roof was built after structural steel framing was being used for buildings, this iron sure looks like it was produced by a blacksmith working with the carpenters. How do you connect a hanger rod to a pair of heavy timbers crossing with a bolted ship-lap connection? Their answer was to attach to the sides of the actual crossing with face-mounted brackets, and then bend the hanger into eye-hooks on each side to hang the brackets. Indirect, but workable.
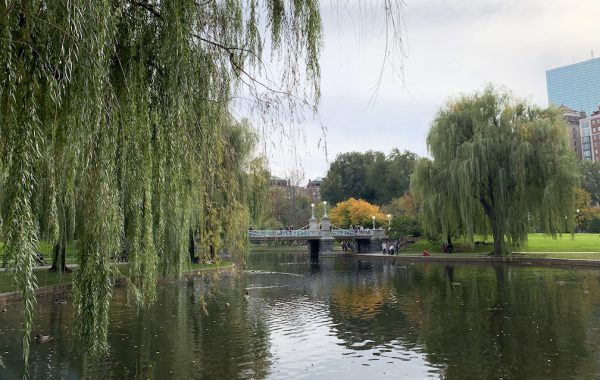
One last note: we have had an ongoing discussion in the office about the best way to take photos in dim light. Since we don’t carry big construction lights with us (maybe we should, but we don’t), there are more or less three options: use the camera flash, use a flashlight, or use a low-light setting. The picture above was taken with a low light setting, using a flashlight can be weird, and using a flash tends toward over-dramatic lighting:


You must be logged in to post a comment.